Whether you're a seasoned gardener or a novice enthusiast, the ability to control and manage water levels in your planter pots is crucial for plant health. A spigot not only allows for efficient drainage but also provides you with the convenience of controlled watering. By following our step-by-step instructions, you'll not only learn how to put a spigot on a plastic planter pot but also gain valuable insights into maintaining the optimal environment for your plants. This article is designed to be your go-to resource, packed with valuable information and expert advice. From selecting the right tools and materials to understanding the nuances of the installation process, we've got you covered. So, let's dive in and transform your gardening experience by adding a practical and functional spigot to your plastic planter pot.
Table of Contents
- Materials Needed
- Choosing the Right Spigot
- Preparing Your Planter Pot
- Drilling the Hole
- Installing the Spigot
- Sealing and Waterproofing
- Testing the Spigot
- Benefits of Adding a Spigot
- Maintenance Tips
- Troubleshooting Common Issues
- Additional Tips for Effective Plant Care
- Environmental Impact and Sustainability
- Frequently Asked Questions
- Conclusion
Materials Needed
Before diving into the installation process, it's essential to gather all the necessary materials. Having everything on hand will make the process smoother and more efficient. Here's a checklist of what you'll need:
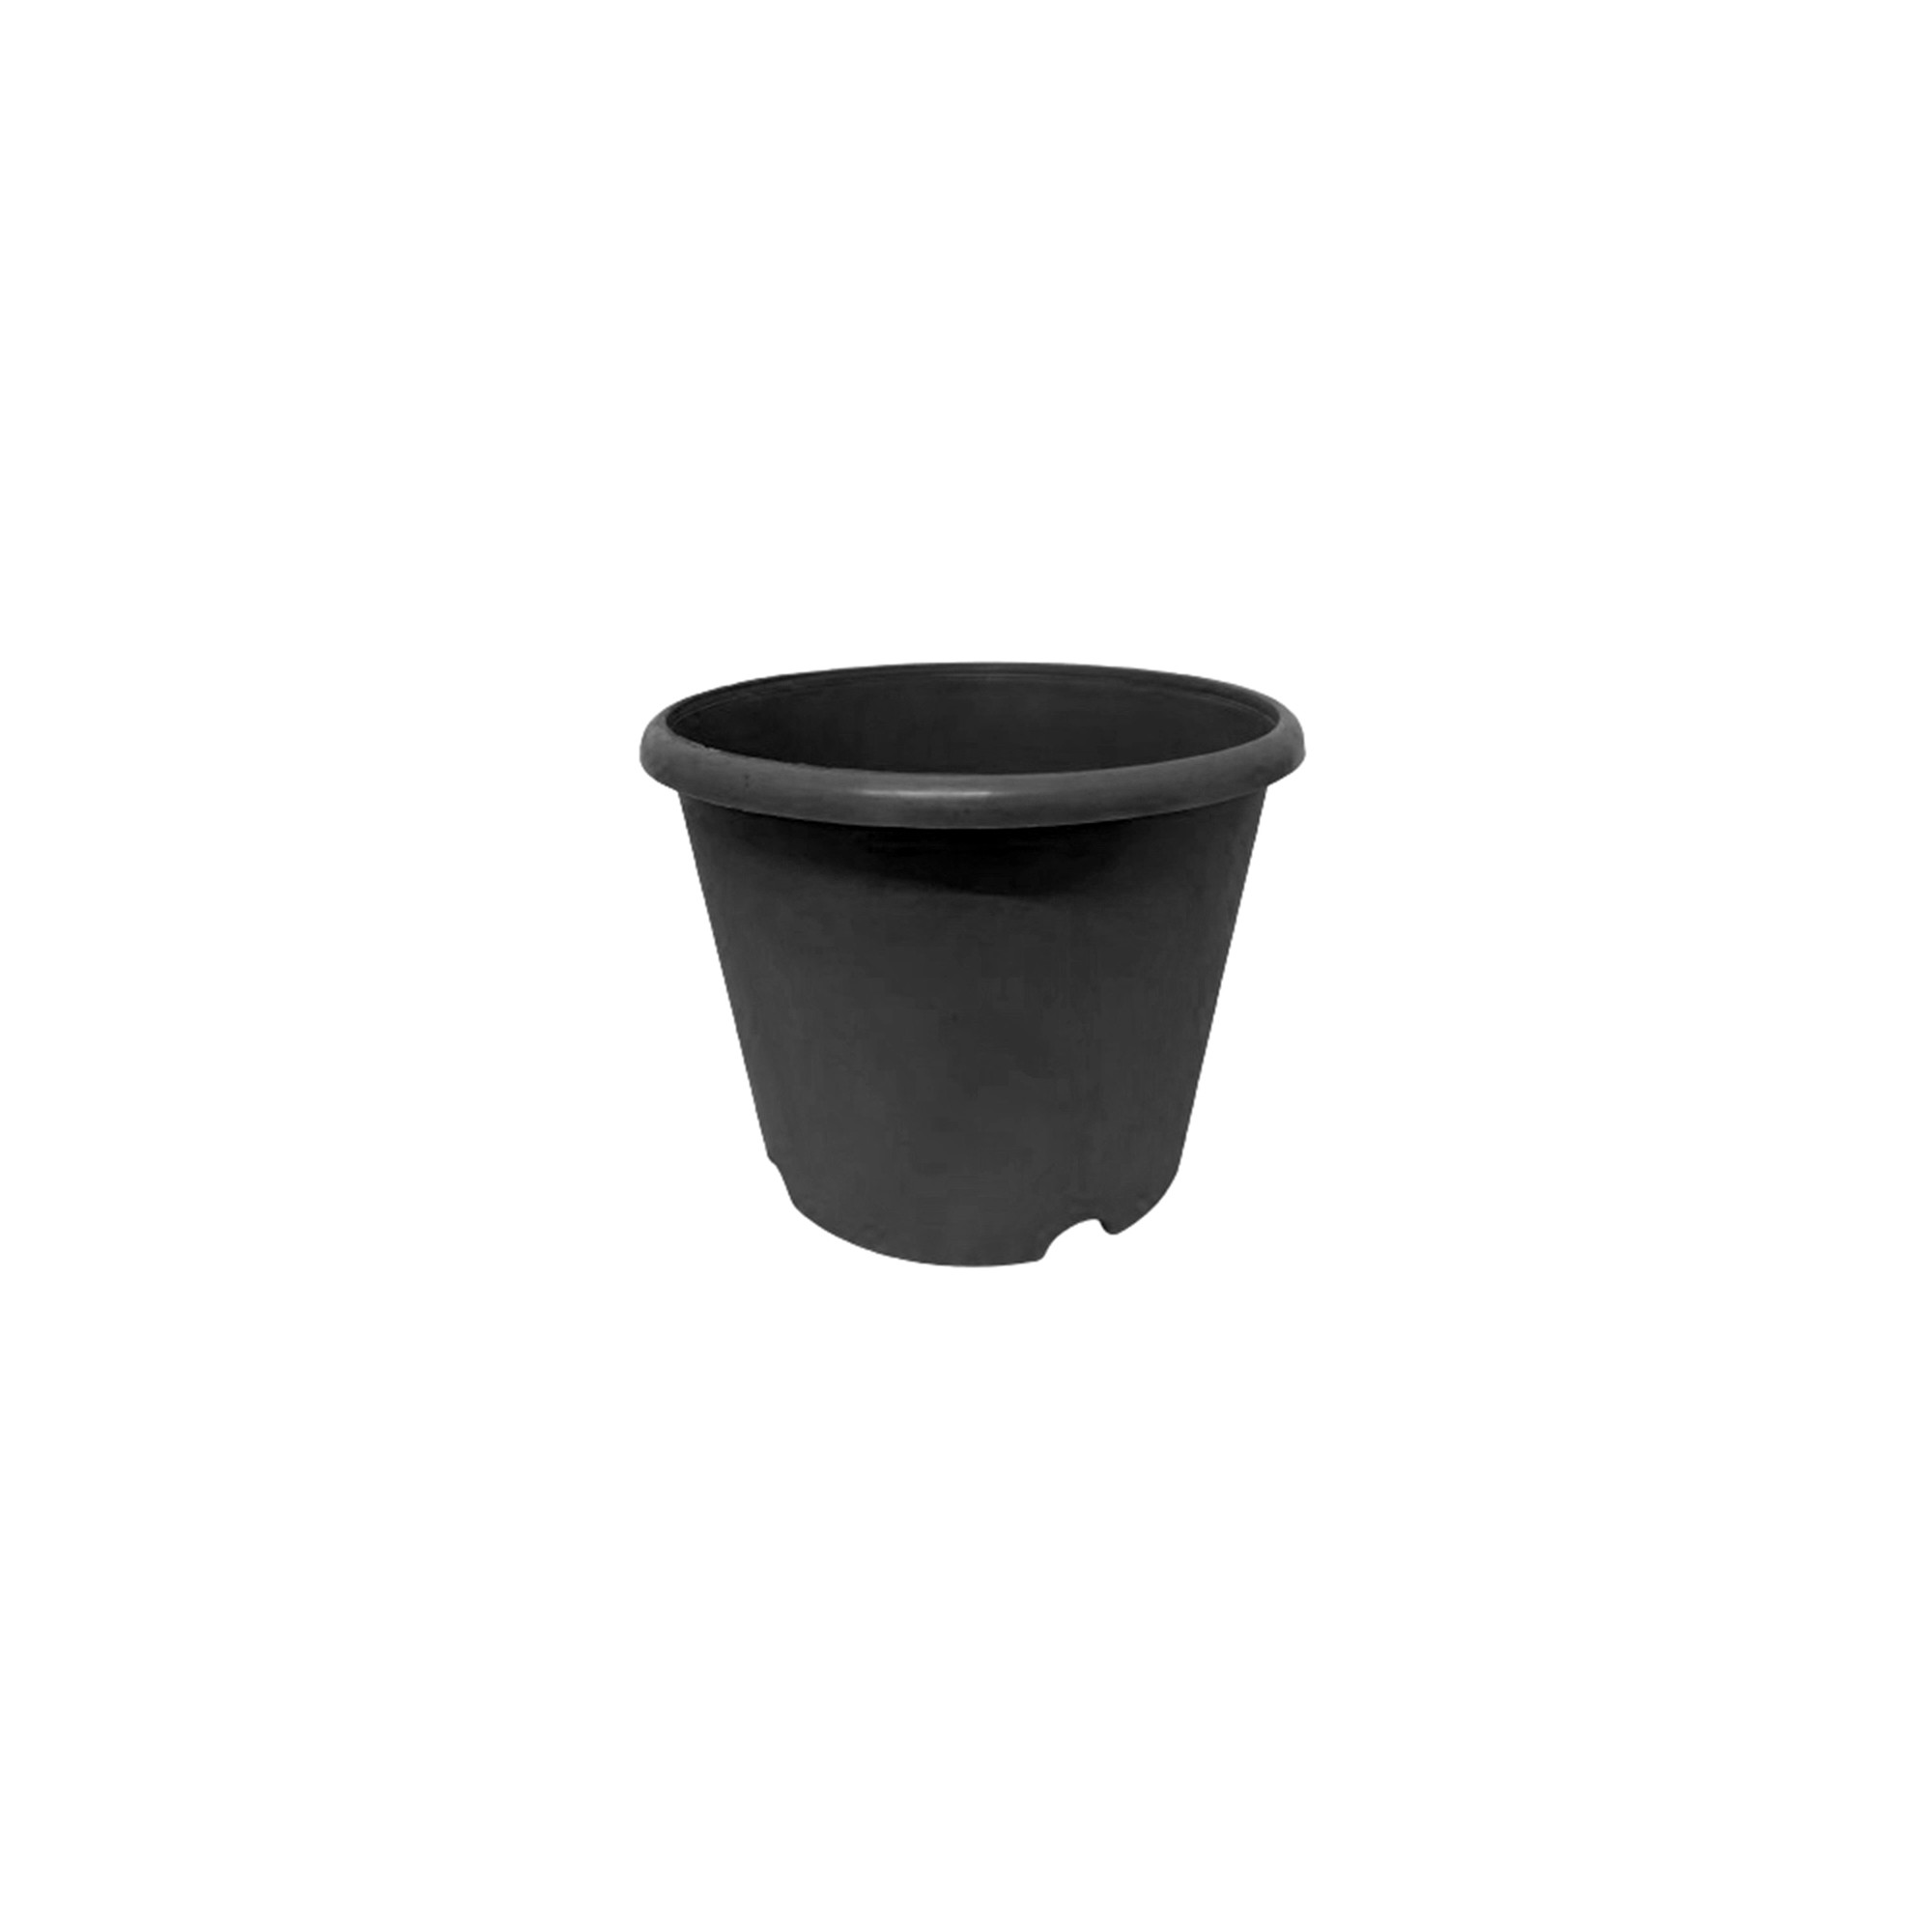
- Plastic planter pot
- Spigot kit (including washers and nuts)
- Drill with a drill bit suitable for plastic
- Waterproof sealant or plumber's tape
- Measuring tape or ruler
- Marker or pencil
- Protective gloves and eyewear
Ensure that you choose high-quality materials to guarantee the durability and longevity of your spigot installation. The spigot you select should be rust-resistant, especially if it will be exposed to the elements.
Read also:The Life Career And Controversies Of Steve Nunn Kentucky
Choosing the Right Spigot
Selecting the appropriate spigot for your planter pot is crucial for ensuring functionality and longevity. Here are some factors to consider when choosing a spigot:
- Material: Opt for a spigot made of durable, rust-resistant materials like brass or stainless steel.
- Size: The spigot should fit comfortably within the designated area of your pot, providing a snug fit without compromising structural integrity.
- Design: Consider a spigot with a simple on/off mechanism for ease of use.
- Compatibility: Ensure the spigot components (washers, nuts) are compatible with your pot's thickness and material.
By carefully selecting the right spigot, you'll set the foundation for a successful installation and long-lasting performance.
Preparing Your Planter Pot
Proper preparation of your planter pot is essential for a successful spigot installation. Follow these steps to get started:
- Clean the Pot: Wash and dry your planter pot to remove any dirt or debris that could interfere with the installation process.
- Determine Spigot Placement: Using a measuring tape, mark the desired location for the spigot, ensuring it is near the bottom of the pot for effective drainage.
- Mark the Drill Spot: Use a marker or pencil to clearly mark the spot where you'll drill the hole for the spigot.
Taking the time to properly prepare your planter pot will set the stage for a successful installation process.
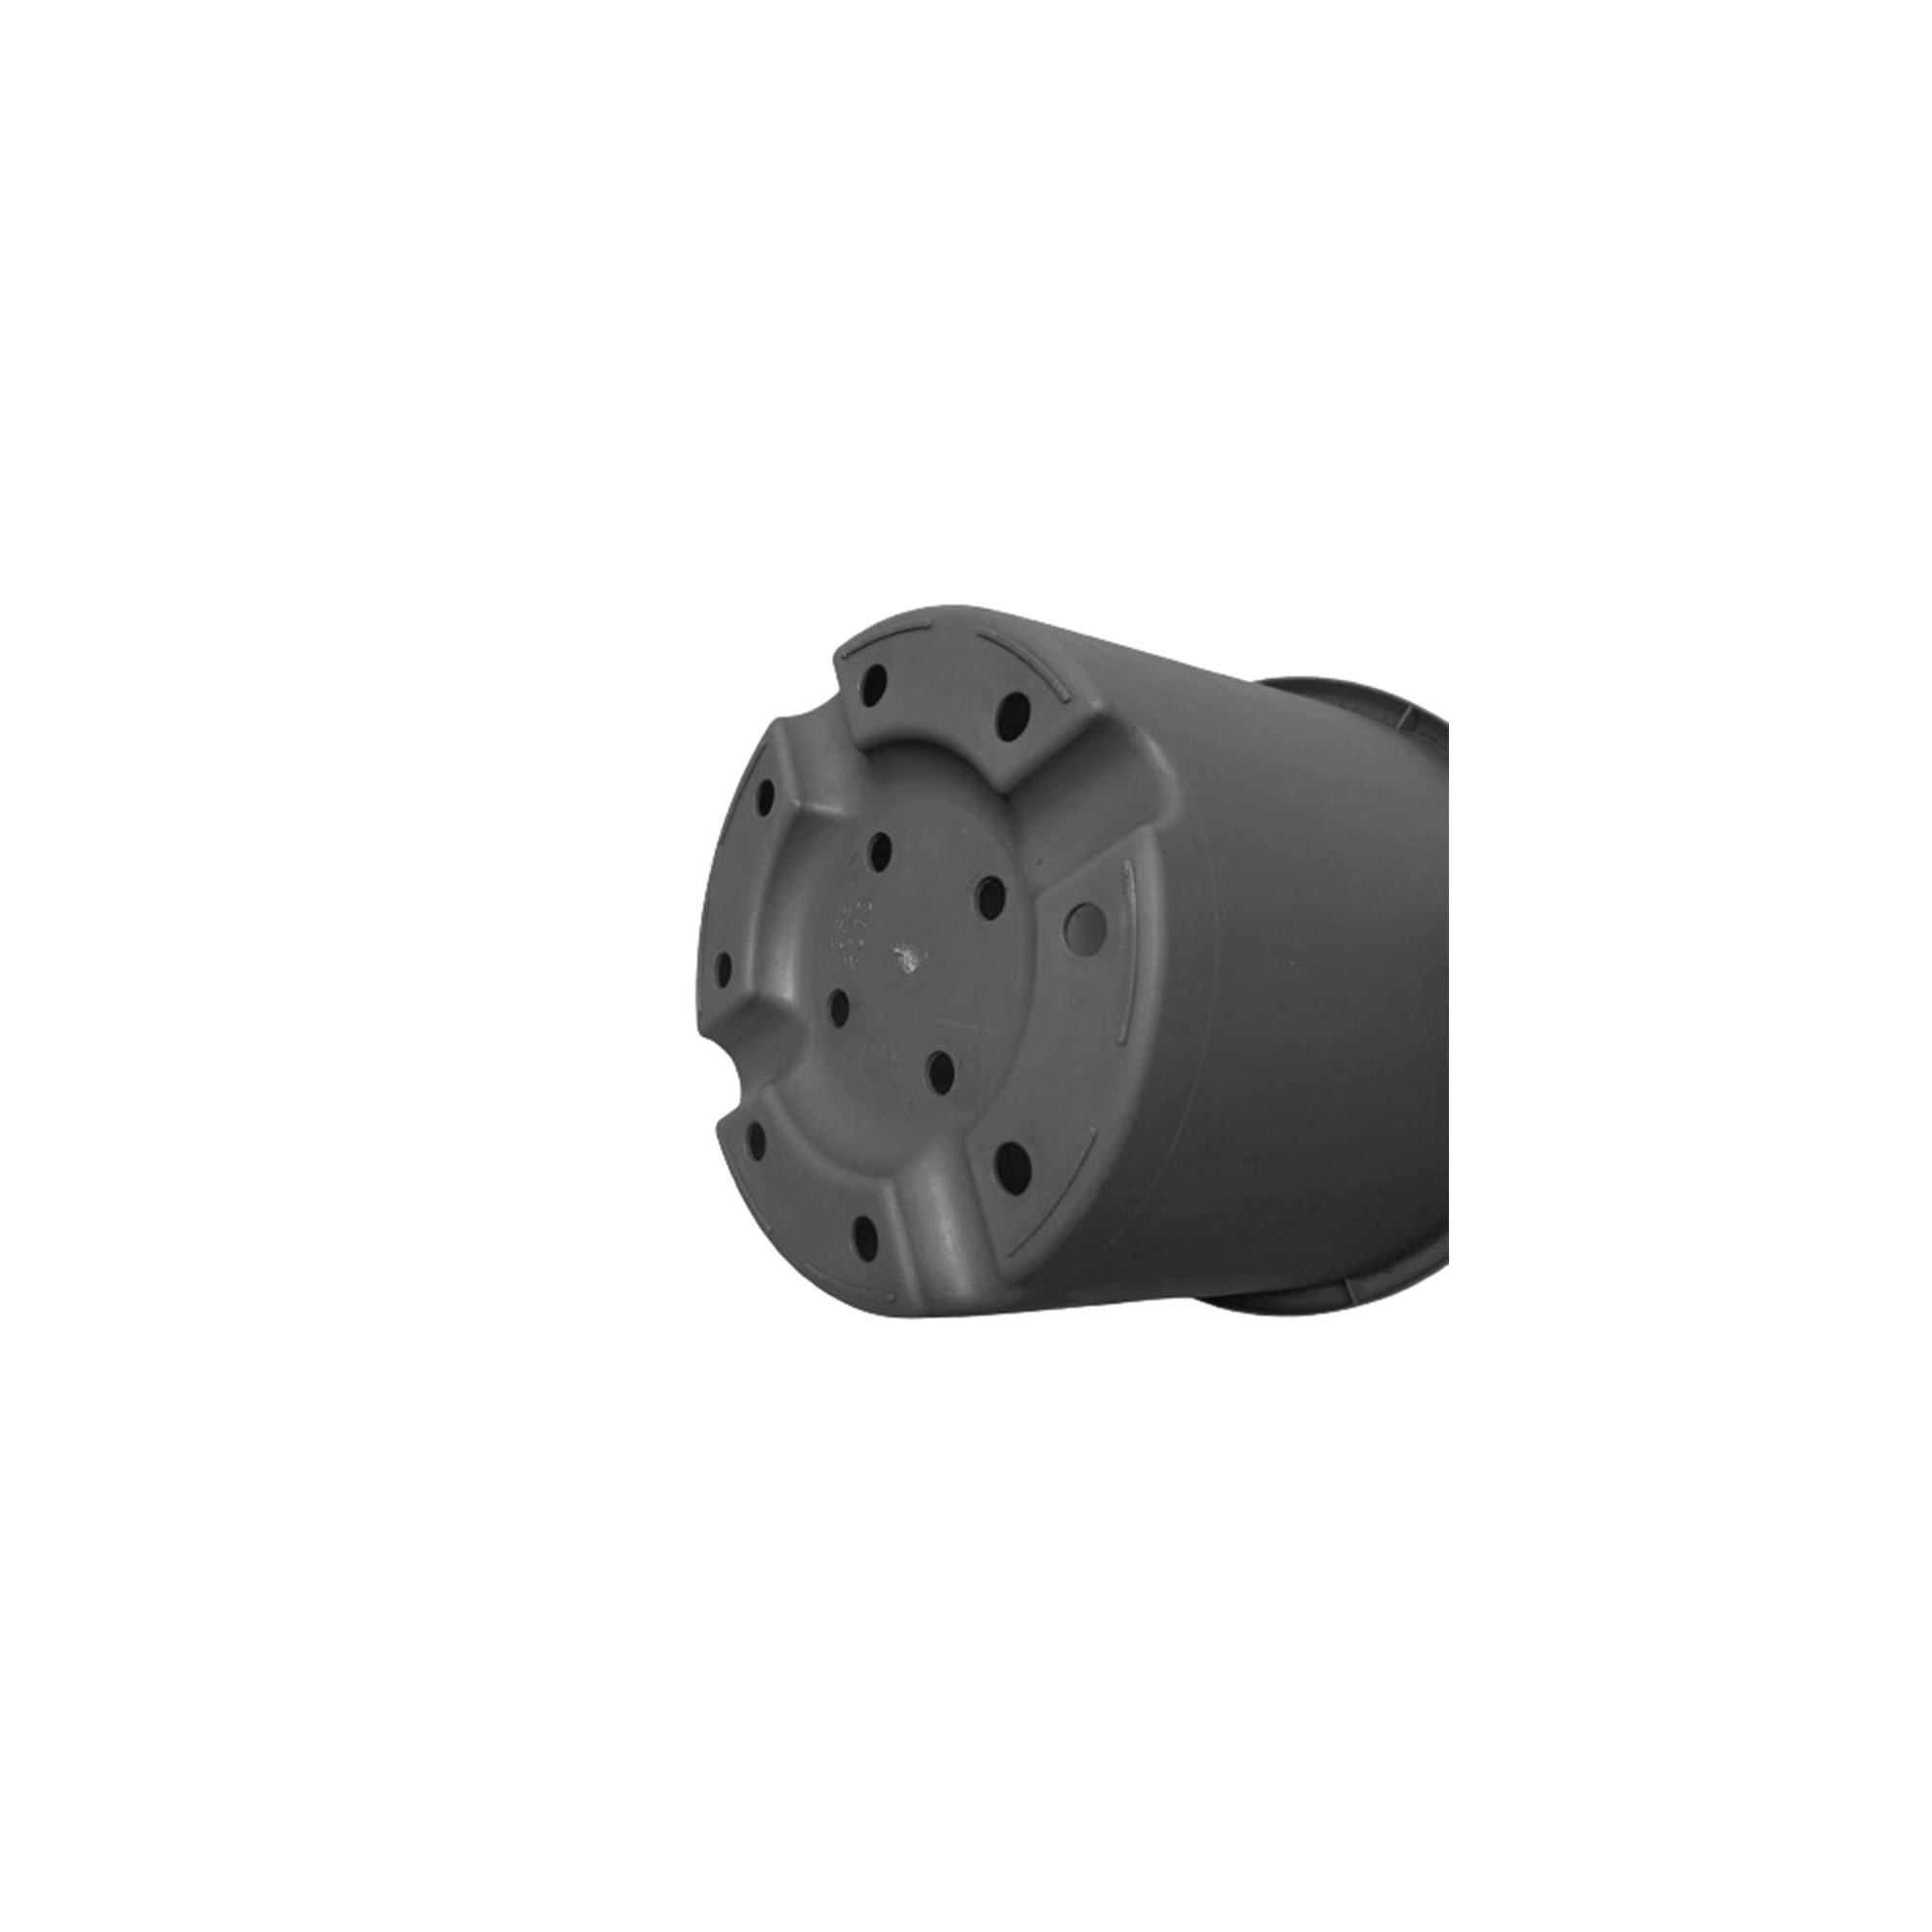
Drilling the Hole
Drilling the hole for the spigot is a critical step in the installation process. Here's how to do it safely and effectively:
- Safety First: Put on protective gloves and eyewear to shield yourself from plastic debris during drilling.
- Select the Right Drill Bit: Use a drill bit that matches the size of your spigot to ensure a snug fit.
- Drill the Hole: Carefully drill a hole at the marked spot, applying steady pressure to avoid cracking the plastic.
After drilling, inspect the hole to ensure it's smooth and free of jagged edges, which could compromise the spigot's fit.
Read also:Chris Brown And Diddy A Dynamic Duo In Music And Entertainment
Installing the Spigot
With the hole drilled, it's time to install the spigot. Follow these steps for a secure fit:
- Insert the Spigot: Place the spigot into the drilled hole, ensuring it fits snugly.
- Attach Washers and Nuts: Secure the spigot with washers and nuts on both the inside and outside of the pot.
- Tighten Securely: Use a wrench to tighten the nuts, ensuring a leak-proof fit.
Proper installation of the spigot will ensure efficient drainage and ease of use for years to come.
Sealing and Waterproofing
To prevent leaks and ensure the longevity of your installation, sealing and waterproofing are essential. Here's how:
- Apply Sealant: Use a waterproof sealant or plumber's tape around the spigot's base and washers to provide an extra layer of protection.
- Allow to Dry: Give the sealant ample time to dry and set before using the spigot.
Proper sealing is crucial for maintaining a leak-free spigot that stands the test of time.
Testing the Spigot
Testing your newly installed spigot ensures proper functionality and peace of mind. Follow these steps:
- Check for Leaks: Fill the pot with water and observe the spigot for any signs of leaks.
- Test Functionality: Open and close the spigot several times to ensure smooth operation and proper water flow.
Conducting these tests will confirm the success of your installation and allow for any necessary adjustments.
Benefits of Adding a Spigot
There are numerous advantages to installing a spigot on your plastic planter pot, including:
- Improved Drainage: Prevents waterlogging and promotes healthy root growth.
- Convenience: Easily control water levels and drainage with a simple turn of the spigot.
- Water Conservation: Allows for the collection and reuse of excess water.
These benefits make adding a spigot a worthwhile investment for any gardener looking to optimize their plant care routine.
Maintenance Tips
To keep your spigot functioning optimally, regular maintenance is key. Here are some tips:
- Clean Regularly: Remove any debris or buildup from the spigot to ensure smooth operation.
- Inspect for Leaks: Periodically check for signs of wear or leaks and address them promptly.
- Lubricate Mechanisms: Use a lubricant to maintain the spigot's moving parts and prevent rust.
By following these maintenance tips, you'll ensure the longevity and reliability of your spigot installation.
Troubleshooting Common Issues
While installing a spigot is relatively straightforward, you may encounter some common issues. Here's how to address them:
- Leaking Spigot: Check the sealant and tighten the nuts if necessary.
- Stiff Operation: Lubricate the spigot to ensure smooth movement.
- Cracked Pot: Use epoxy or a similar adhesive to repair any cracks.
Addressing these issues promptly will ensure the continued functionality of your spigot and planter pot.
Additional Tips for Effective Plant Care
Beyond installing a spigot, there are several ways to optimize plant care in your plastic planter pot:
- Use Quality Soil: Invest in nutrient-rich soil to promote healthy plant growth.
- Monitor Sunlight: Position your pot to receive the appropriate amount of sunlight for your specific plants.
- Regular Watering Schedule: Establish a consistent watering routine based on your plants' needs.
By implementing these tips, you'll create the ideal environment for your plants to thrive.
Environmental Impact and Sustainability
Installing a spigot on your plastic planter pot can contribute to environmental sustainability in various ways:
- Water Conservation: Allows for the reuse of excess water, reducing waste.
- Reduced Water Runoff: Prevents water from overflowing, minimizing erosion and pollution.
- Eco-Friendly Materials: Opt for spigots made from sustainable materials to reduce environmental impact.
Making environmentally conscious choices in your gardening practices benefits both your plants and the planet.
Frequently Asked Questions
Here are some commonly asked questions about installing a spigot on a plastic planter pot:
1. Can I use any type of spigot for my plastic planter pot?
It's important to choose a spigot made from rust-resistant materials like brass or stainless steel, and ensure it is compatible with the thickness and material of your pot.
2. What should I do if my spigot is leaking?
First, check the sealant and tighten the nuts. If the problem persists, consider reapplying sealant or replacing worn washers.
3. How often should I perform maintenance on the spigot?
Regular maintenance should be performed seasonally, or more frequently if you notice any signs of wear or malfunction.
4. Is it possible to install a spigot without drilling?
Drilling is the most secure method, but there are some adhesive spigot kits available. However, these may not provide the same durability.
5. Can I install a spigot on any size planter pot?
Yes, but ensure the spigot size is appropriate for the pot, and that it won't compromise the pot's structural integrity.
6. What are the environmental benefits of adding a spigot?
Adding a spigot can help conserve water by allowing for the collection and reuse of excess water, as well as reducing water runoff and pollution.
Conclusion
Installing a spigot on a plastic planter pot is a practical and effective way to enhance your gardening experience. By following the steps outlined in this guide, you'll ensure a successful installation that promotes healthy plant growth and efficient water management. Remember to regularly maintain your spigot and pot to enjoy their benefits for years to come. Happy gardening!
For more detailed information on gardening techniques and sustainable practices, consider visiting Gardening Know How.